Rail Banding
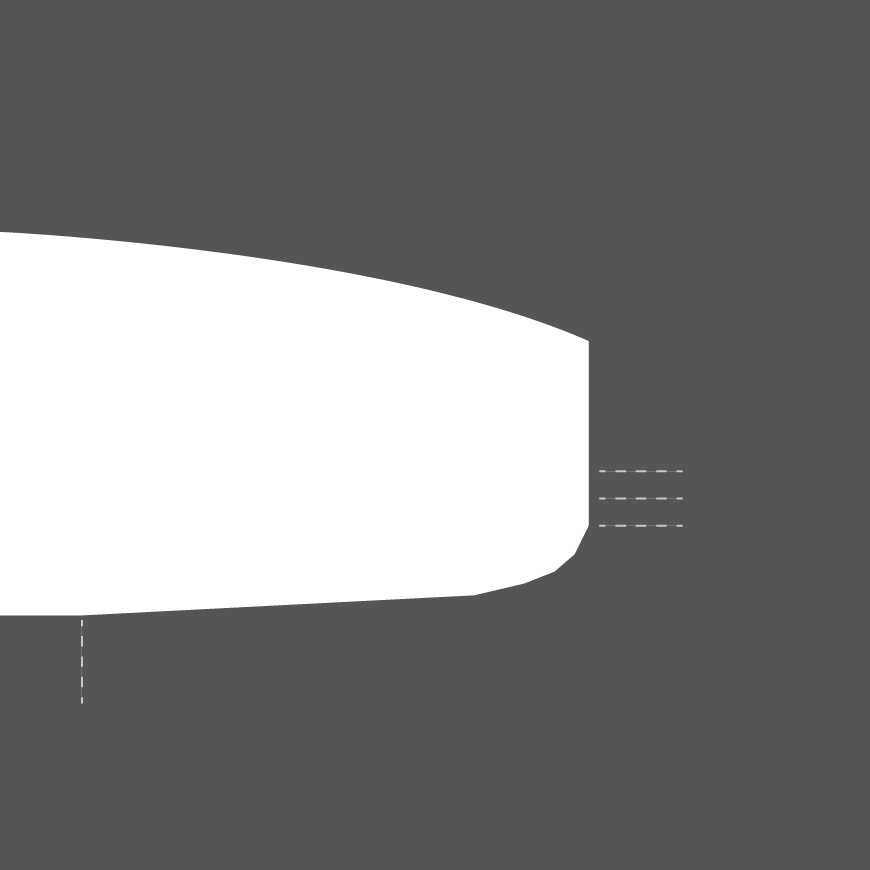
My approach to rail banding is methodical. I always begin by banding the bottom rail portion after marking the rail-apex and rail-tuck at center. I set the rail apex with three marks to delineate a buffer/nipple around the entire outline; a section that only gets rounded off at the very end of refining the rails. This helps to preserve the integrity of the outline. The rail tuck (marked on the bottom) will vary in distance from the outline depending on what you’re shaping.
My first passes are steep. That is to say the cut angle only differs slightly from the 90° outline cut. My main goal here is to get down to the buffer line without taking too much foam off the rail. This may require several passes depending on the blank or design you’re working with. When this step is complete, you can break that band (and subsequent bands) with 2 or 3 passes or until you feel you are achieving the desired curve for the bottom rail. Work your way up to your rail-tuck mark. Below is a crude, cross-section animation of my approach to a soft, slightly turned down longboard rail:

How my banding will commonly look on a soft-railed longboard.
Banding the deck.
The Deck is pretty much the same approach. I don’t like to cut too deeply into the deck when shaping with poly as the deeper you cut the softer the foam tends to be. I skin the deck with a shallow pass and blend the rail bands up to the deck’s natural curve. As shapers, we have the great fortune that so many close-to-shape blanks exist with nice rockers and deck curves. They really make our jobs easier!
My dad had this saying (I think I’ve mentioned it in past posts) that you should “use a tool for as long as possible before moving onto the next tool”. And so I tend to use the Skil 100 to break and refine bands into smaller and smaller bands before I move onto the Surform or sanding block. I run my Skil 100 with a Shaper’s Grit Drum which makes band cuts efficient and clean. You can either hold your planer at an angle or parallel to the rail line. I prefer holding mine at a slight angle as I feel it makes for a cleaner cut. Refine each band with shallow passes until you reach the desired rail. This may vary from order to order or model to model. Just be sure NOT to cut into your rail-apex’s buffer zone!
You can move onto a Surform or sanding block once you feel the banding closely reflects your desired curve. You can move onto flexible sanding pads once the rail is refined…a topic for a future post
I hope this was helpful. Please, feel free to get in touch either by email or DM on Instagram and please, remember to share this content if you’ve found it useful and feel that someone else could benefit from it
Happy shaping!

Some typical roughed out banding on a classic longboard deck.

Banding rails on the deck of a fish with a flatter deck.